My Keyboard History #
I’m not a big keyboard aficionado, but I really liked the Filco Majestouch2 TKL with Cherry MX brown switches that I bought back in 2012. More recently, I decided I wanted to take the Filco to work so bought a Ducky board with Cherry Blue switches for home use. As soon as I got the board I realised this was a big mistake - I’m not a fan of the Cherry blue clicky switches at all.
After this, my mind was made up, time to build my own keyboard with the switches I want!
Testing switches #
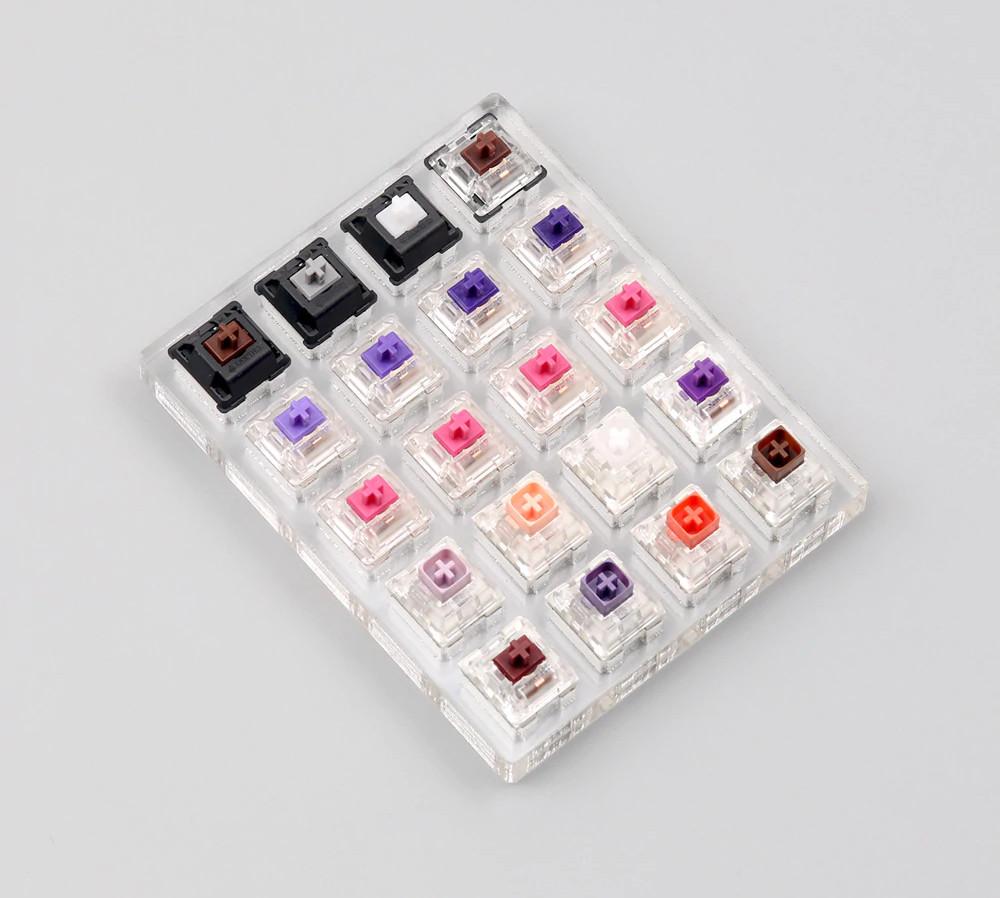
The first step was obtaining some key switch testers from KBDfans on aliexpress. KBDfans are a well known keyboard parts seller. I bought the linear and tactile keyswitch testers as I’ve already come to the conclusion that clicky switches aren’t for me.
Choosing components #
Switches #
After experimenting with the switch testers, I came to the conclusion that I liked the Hako Violet switches. These are the lightest switches in the Hako range.
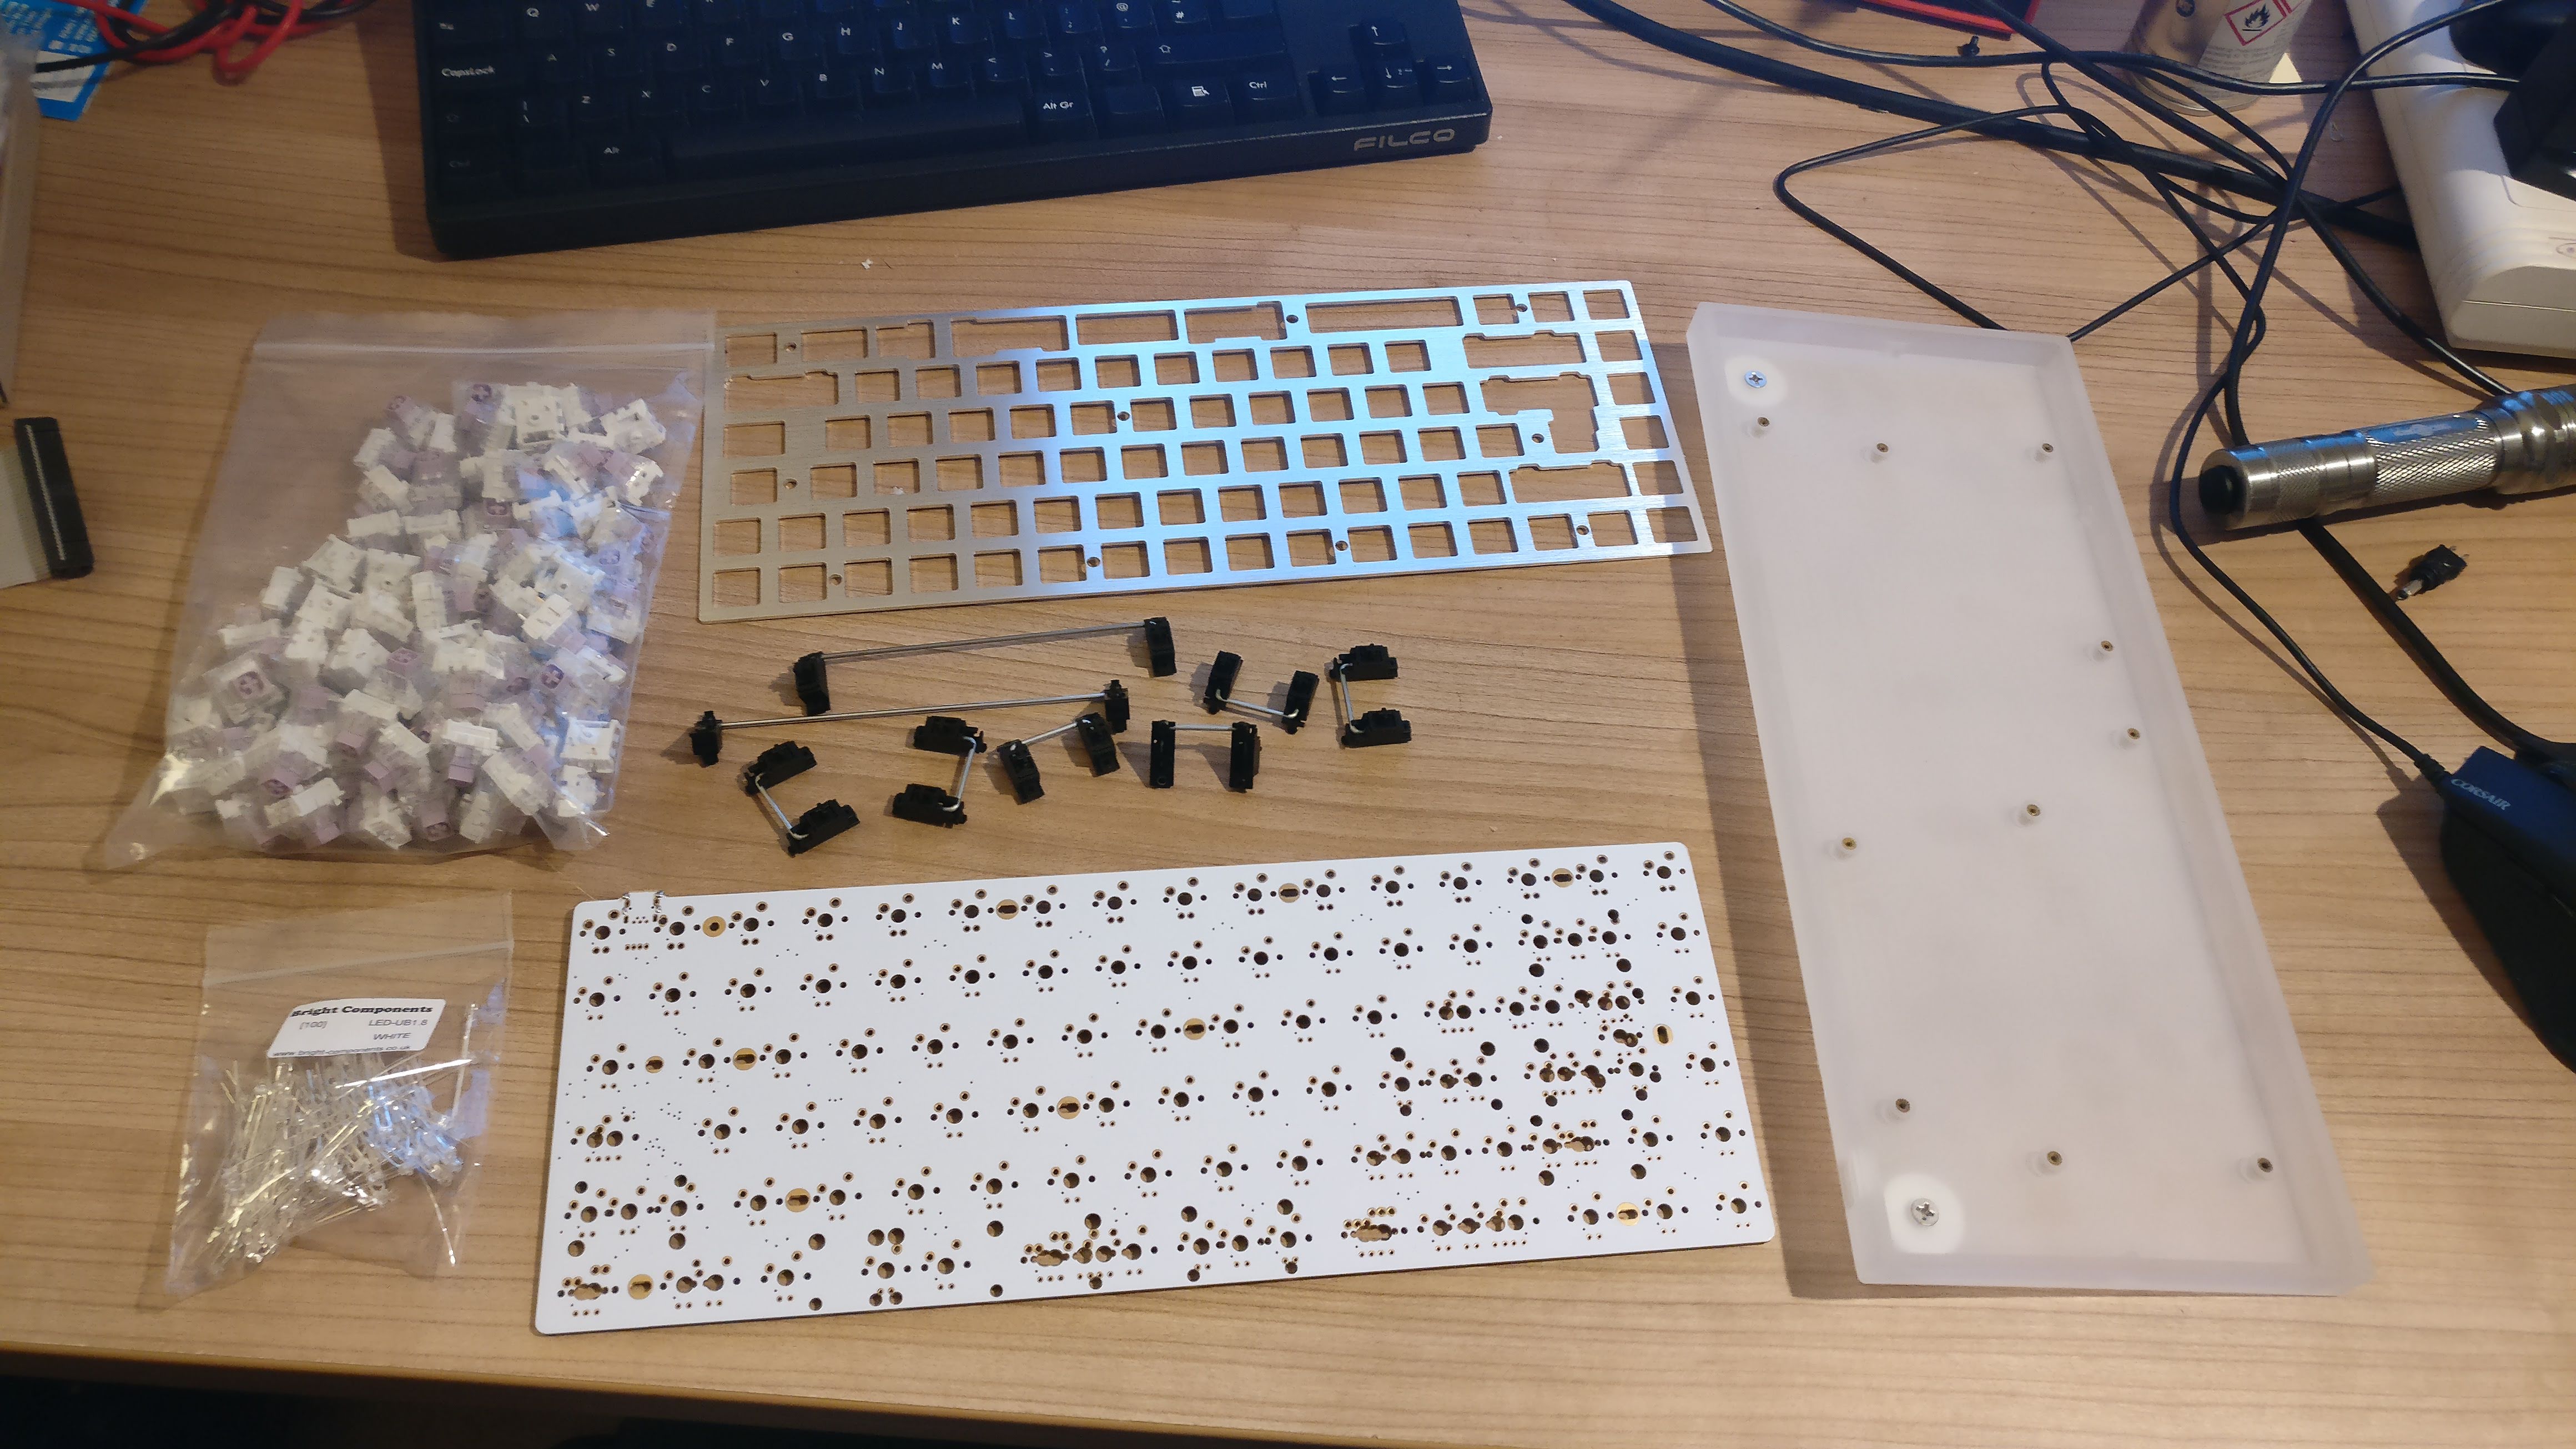
PCB & Plate #
Next up on the purchasing list was a PCB and plate. here I settled on the KBD75v2 from KBDfans. I liked the 75% format as it still retains the arrow keys and function keys that I find useful for programming, but reduces the form factor even more from the standard TKL layout. The v2 version of the KBD75 also has a USB-C connector, a bit more forward thinking than most of the other boards.
Case #
I baulked at the pricing of the KBDfans aluminium case for this board - almost $100! Instead I went for a frosted perspex case from YMDK which was much more reasonable,
Stabilizers #
Next up are stabilizers, the plate and PCB came with some cheap click in stabilisers but I have heard they are very rattly. Stabilizers need to be inserted into the board prior to the switches being soldered in through the plate, so are very difficult to remove later! I therefore didn’t want to risk the cheap stabilisers and went for some GMK screw in stabs, which seem to be made of a different softer plastic, which results in a nicer sound.
Keycaps #
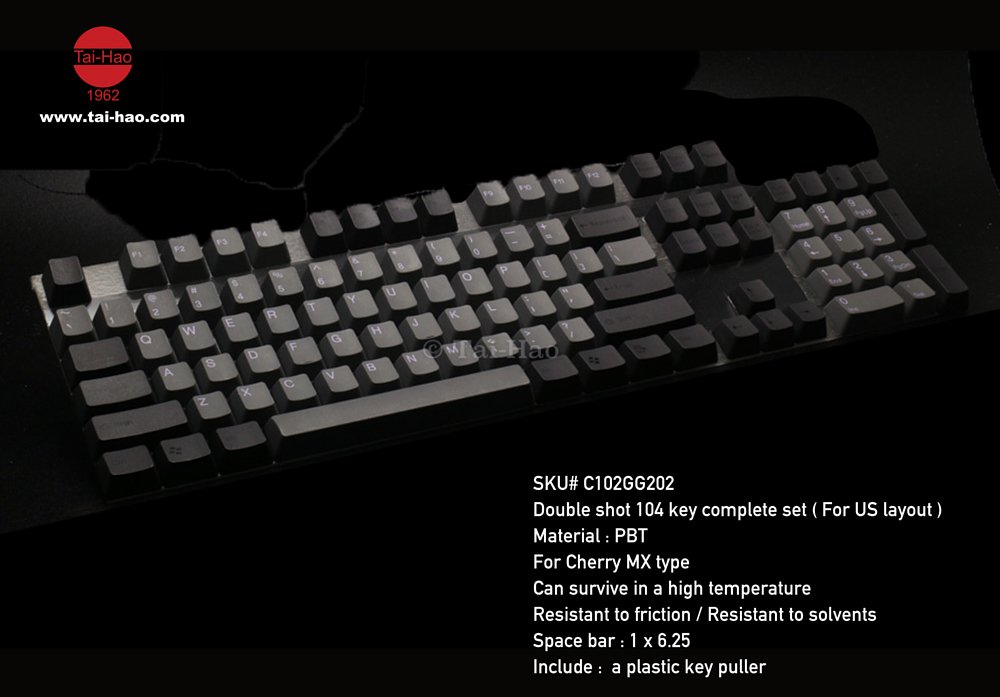
Finally we get to keycaps. I was 100% certain that I wanted to stick with an ISO layout, and I definitely wanted UK keycap symbols if possible. This greatly restricted the number of keycap sets available to me. I also wanted them to be made of PBT plastic (harder wearing than ABS). After prowling Aliexpress for some time looking for suitable keycaps, I gave in and ordered some fairly inexpensive Tai-Hao caps from Overclockers UK. These are PBT doubleshots in UK ISO layout. Unfortunately the KBD75 requires a 1.75 size right shift which was not part of this set. Fortunately additional keycaps are available from the Tai Hao store directly.
LEDs #
This PCB also supports through hole per switch LEDs. The switches that I chose also have clear upper bodies and enough space within the switch to accommodate an LED within the switch. Normally through hole LEDs would normally be soldered after the switches, with their legs fed through holes in the switches. This can cause issues with hitting certain keycaps however. As I have no intention of using shine through keycaps (this PCB is not well suited to them anyway as the switches mount upside down with the LEDs towards the bottom. Most shine through keycaps are designed for the LEDs to be at the top).
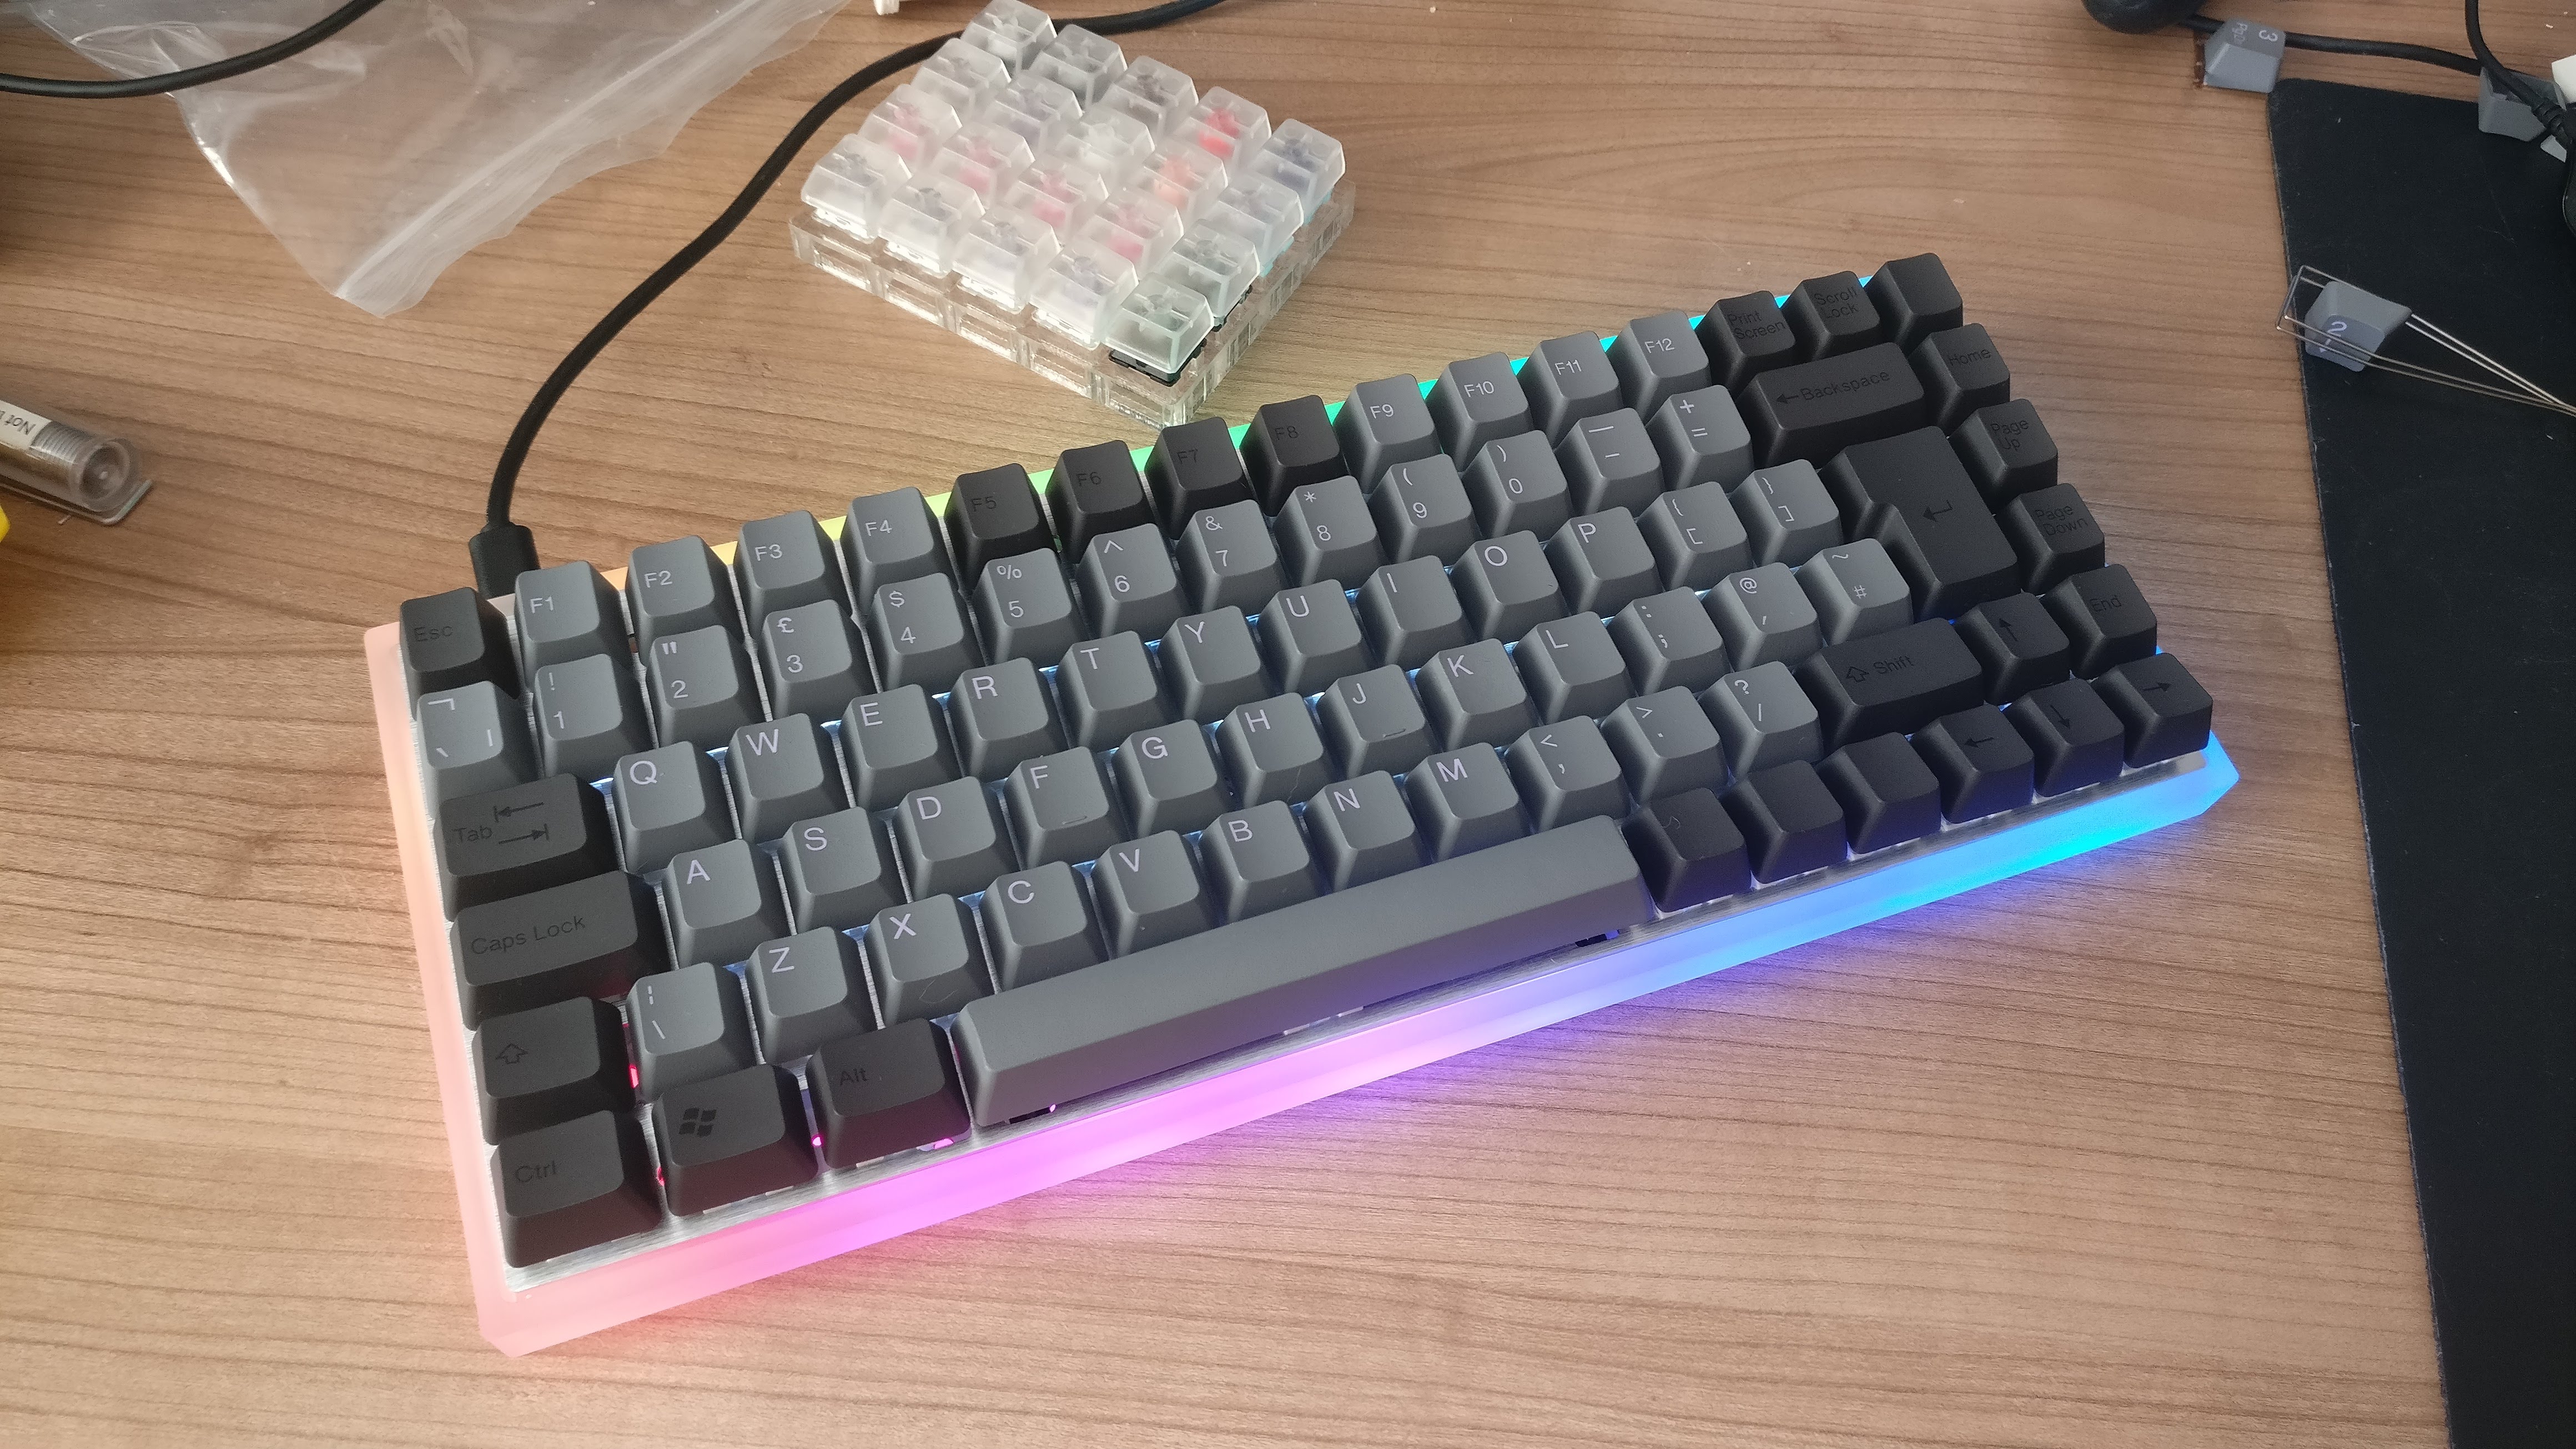
Constructing the board #
The most time consuming part of constructing the board was soldering in the through hole LEDs. Once this was done, I powered up the board and discovered that mysteriously one of the LEDs was dimmer than the others. I initially thought that it was due to a faulty LED, and swapped out the LED, before finally tracking it down to an SMD resistor with an incorrect value. Fortunately I could swap an unused resistor from another part of the board.
Firmware #
Finally, I had to configure, build and upload a firmware to the board. The board uses the QMK firmware. It was relatively straightforward to modify the default configuration and build a new firmware. The biggest issue I had was getting the board into bootloader mode so that a new firmware could be uploaded! I think I resorted to using the reset button on the back of the PCB. This guide proved useful for modifying the firmware: https://www.reddit.com/r/MechanicalKeyboards/comments/6hl837/kbd75_r3_qmk_howto_guide/
Shopping list #
| Item | Store | Link |
|---|---|---|
| Switch testers | KBDfans | https://www.aliexpress.com/item/32917884682.html |
| Hako True Violet keyswitches | KBDfans | https://www.aliexpress.com/item/32898900063.html |
| KBD75 REV 2.0 PCB (USB TYPE-C) (kit3 KBD75 pcb + stab + plate ) | KBDfans | https://www.aliexpress.com/item/32875917718.html |
| GMK Screw-in Stabilizers for mechanical keyboard | KBDfans | https://www.aliexpress.com/item/32868004226.html |
| YMDK 84 Kit CNC Acrylic Case | YMDK | https://www.aliexpress.com/item/32949723394.html |
| 100 x White LED 1.8mm - Ultra Bright | bright_components | https://www.ebay.co.uk/itm/301750314742 |
| Tai Hao PBT Double Shot Keycaps Black Grey ISOANSI Layout | OcUK | https://www.overclockers.co.uk/tai-hao-pbt-double-shot-keycaps-black-grey-isoansi-layout-kb-013-ta.html |
| PBT-104 BlackS&DarkGrey DS Keycaps SKU#C02GG202 FC-980M | Tai-hao store | https://shop.tai-hao.com/products/-pbt-104-c02gg202 |