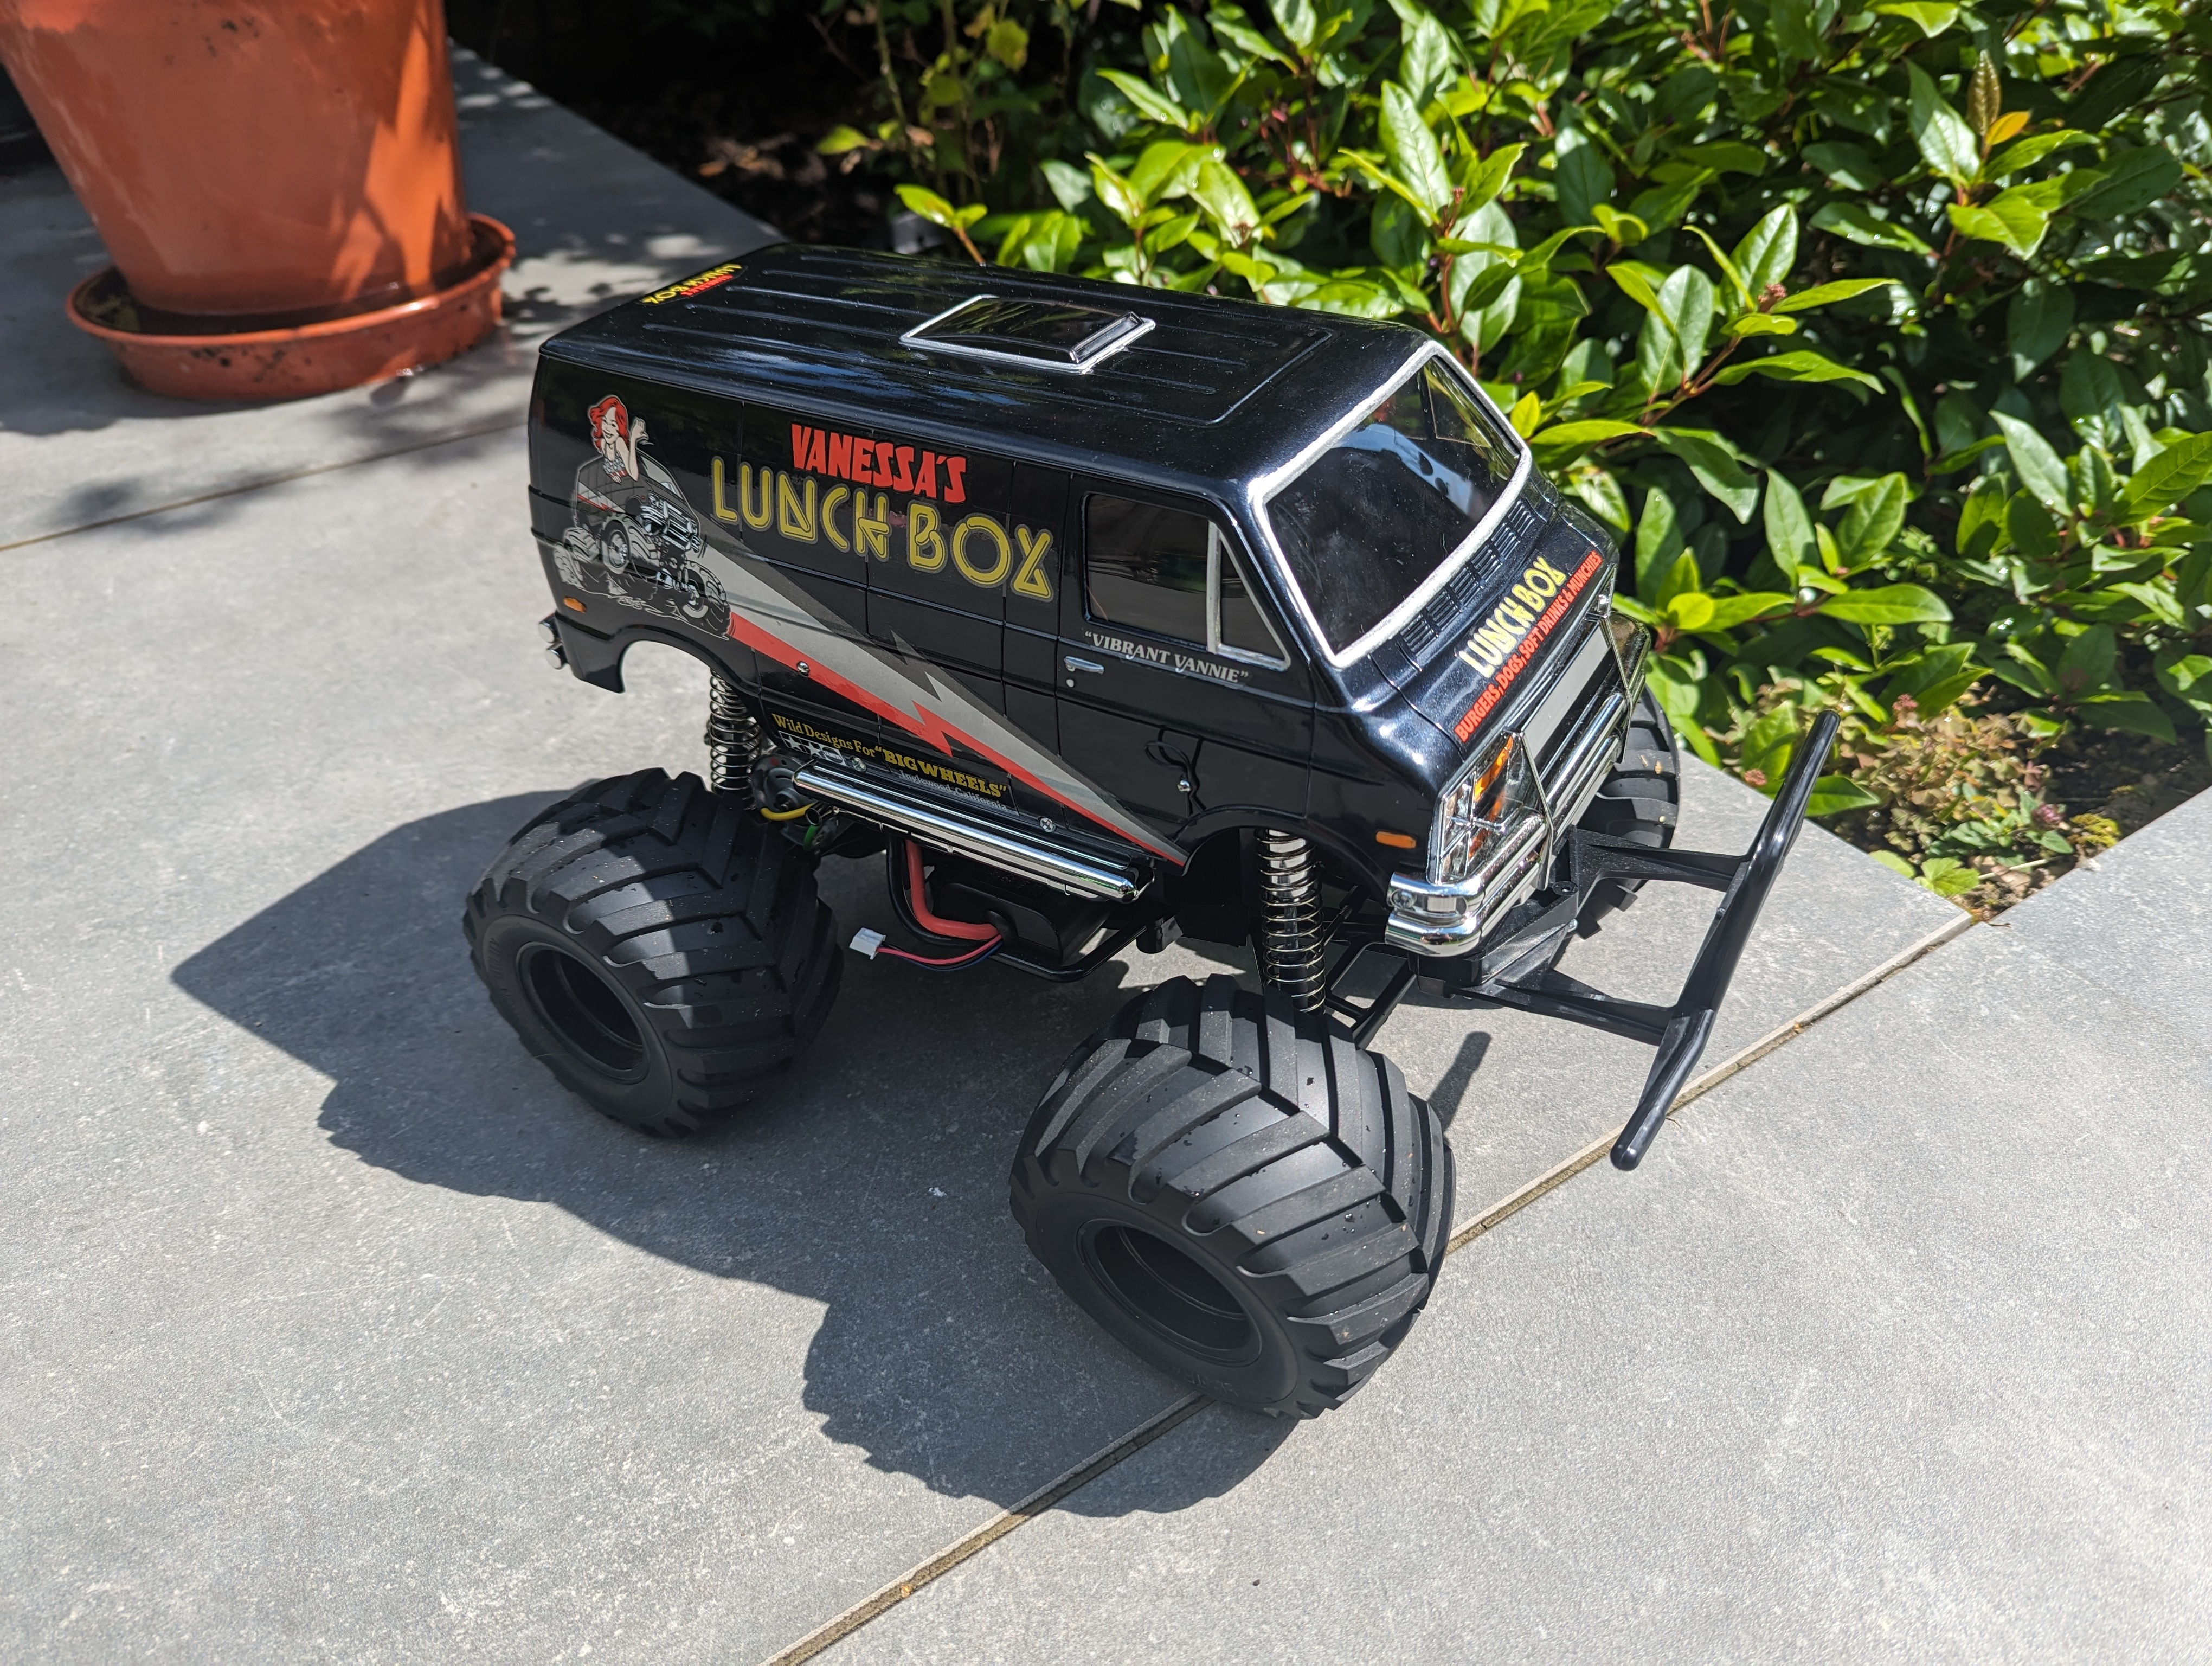
I recently scratched an itch I’ve had for a long time - to construct a kit RC car. I went for the Tamiya Lunchbox, an 80s classic. The Lunchbox is an outdated design with many limitations, I went into it with my eyes open after reading a lot of forum posts, however there are some things that I would do differently given the chance! Here’s a list of tips for future me :)
General tips #
- Get a JIS screwdriver. Tamiya uses JIS screws, which are not quite Philips head. Using a Philips screwdriver will allow the screwdriver to cam out too soon. I used a Pozidriv screwdriver which I think allowed me to over-torque the screws.
- Don’t overdo it with the self tapping screws. It’s quite easy over-torque the screws and strip the threads. Once the screw head is flush, stop! Also see the above not about using the correct screwdriver.
- Your ESC switch will probably not fit in the original Tamiya switch location. The Hobbywing 1060 has a smaller switch on a shorter lead - it’s not possible to connect the motor and have the switch in the standard location. Think about ESC placement - put it somewhere where the motor leads can run, and the switch can be put in a location accessible with the shell on.
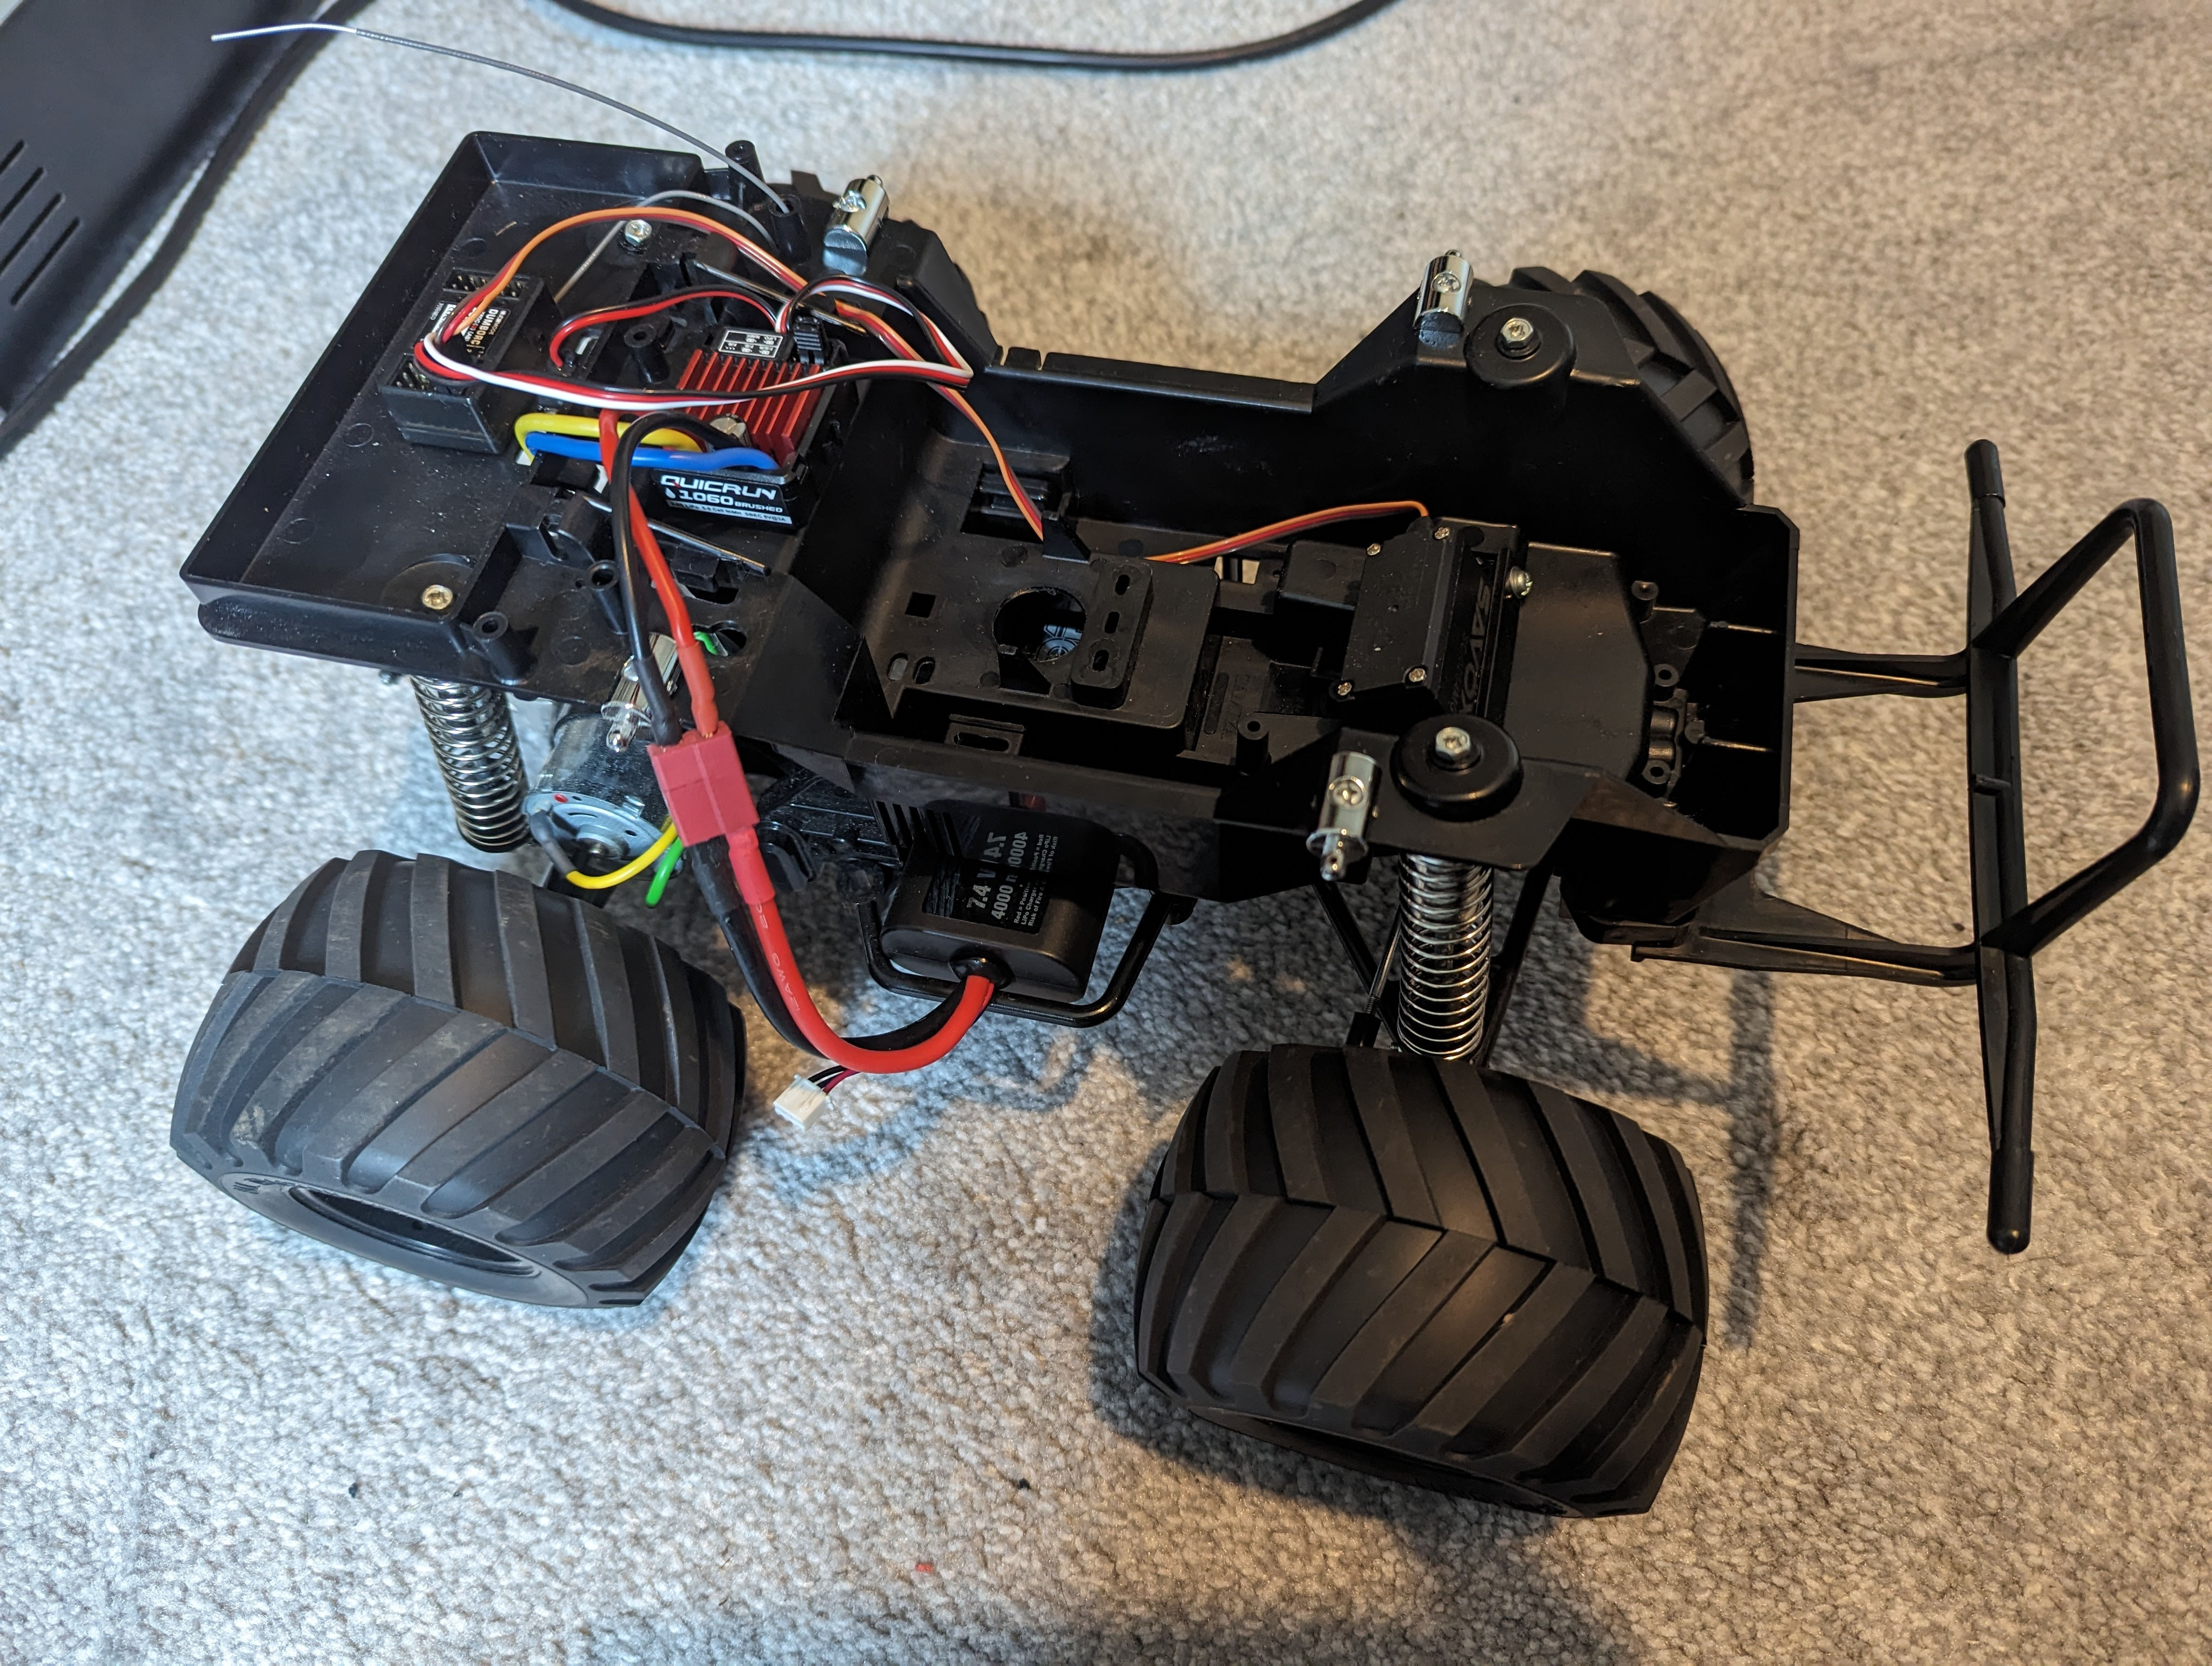
- There are only a small number of hard shell LiPo batteries that will fit in the standard location. I used the CoreRC 2S 4000mAh one. This is probably the extreme limit of what will fit - the battery door only just closes.
- Consider using a battery and ESC with non-Tamiya connectors. The Tamiya connectors are a bit rubbish (resistance, low ease of connecting/ disconnecting etc) and also limit the availability of cells, without swapping connectors. Consider using Deans (T-plug) or XT60 connectors. Deans probably has the largest available selection of batteries.
- There is a gear in one of the bags that is not needed when constructing the Lunchbox. Don’t worry when this is left at the end of the build!
- Adjust the stop point of the steering servo on your transmitter. With my servo, the Lunchbox can only usefully use about 50% of the range, beyond that steering blocks hit the lower suspension arms which just causes things to bend and stress. Which may have contributed to….
- The provided servo saver is rubbish. On my first run I managed 5 minutes before breaking the servo saver. I then did it again after another 10 minutes! Admittedly the point of the servo saver is to be a weak point, and to break saving other components but I think this one is too weak! Possibly combined with being under stress from me not having adjusted the servo end point as above. I replaced mine with the Kimbrough servo saver, and touch wood this has not broken so far.
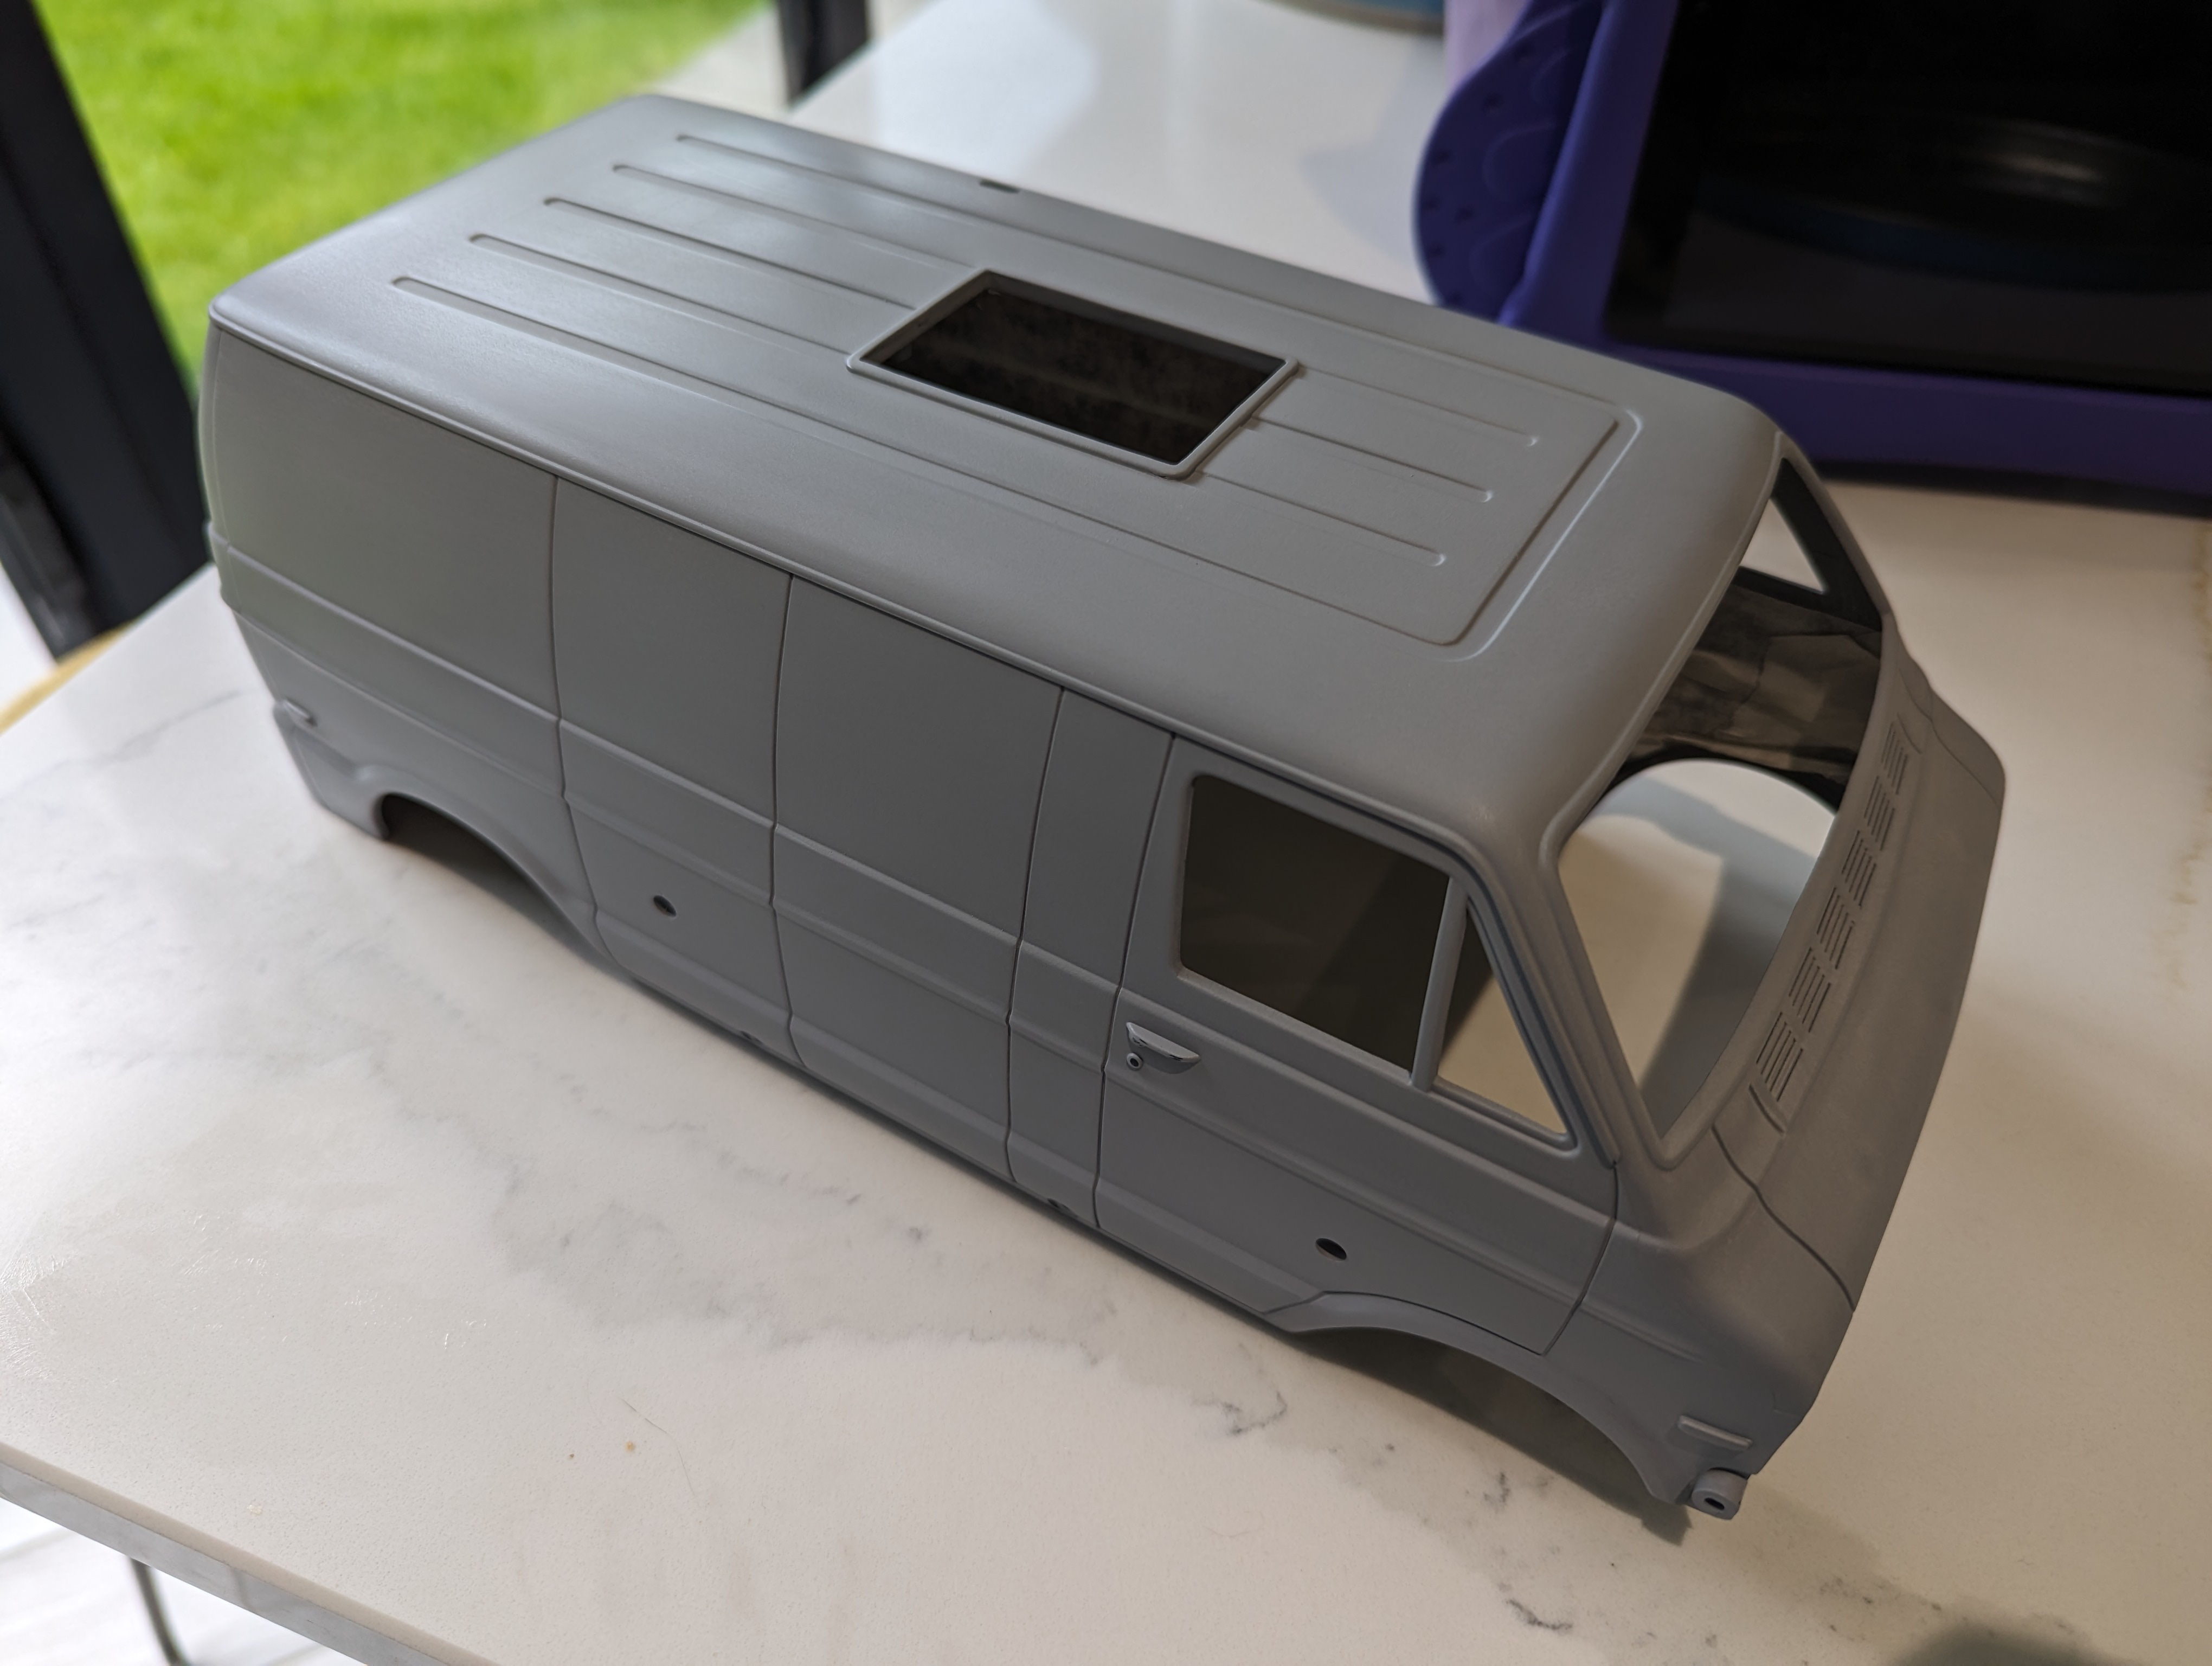
- Possibly use the Tamiya white fine primer instead of the medium grey primer. I used 2 cans of medium grey, and this appeared to then soak up a lot of colour coat/
- The more paint you put on, the more robust it will be. Primer especially allows the paint to adhere well. I’ll detail my paint in strategy in a separate section below.
Painting strategy #
- Wash the body in warm soapy water. This will remove any mold releasing agent, grease and other contaminants
- File down any rough edges on the body. There were a couple of protrusion in the sunroof opening window on mine.
- Sand down the body using wet and dry paper. I used 1200 - 1500 grit. Cover all the body.
- Dry the body. Either let it air dry or use a lint free cloth so no debris is introduced.
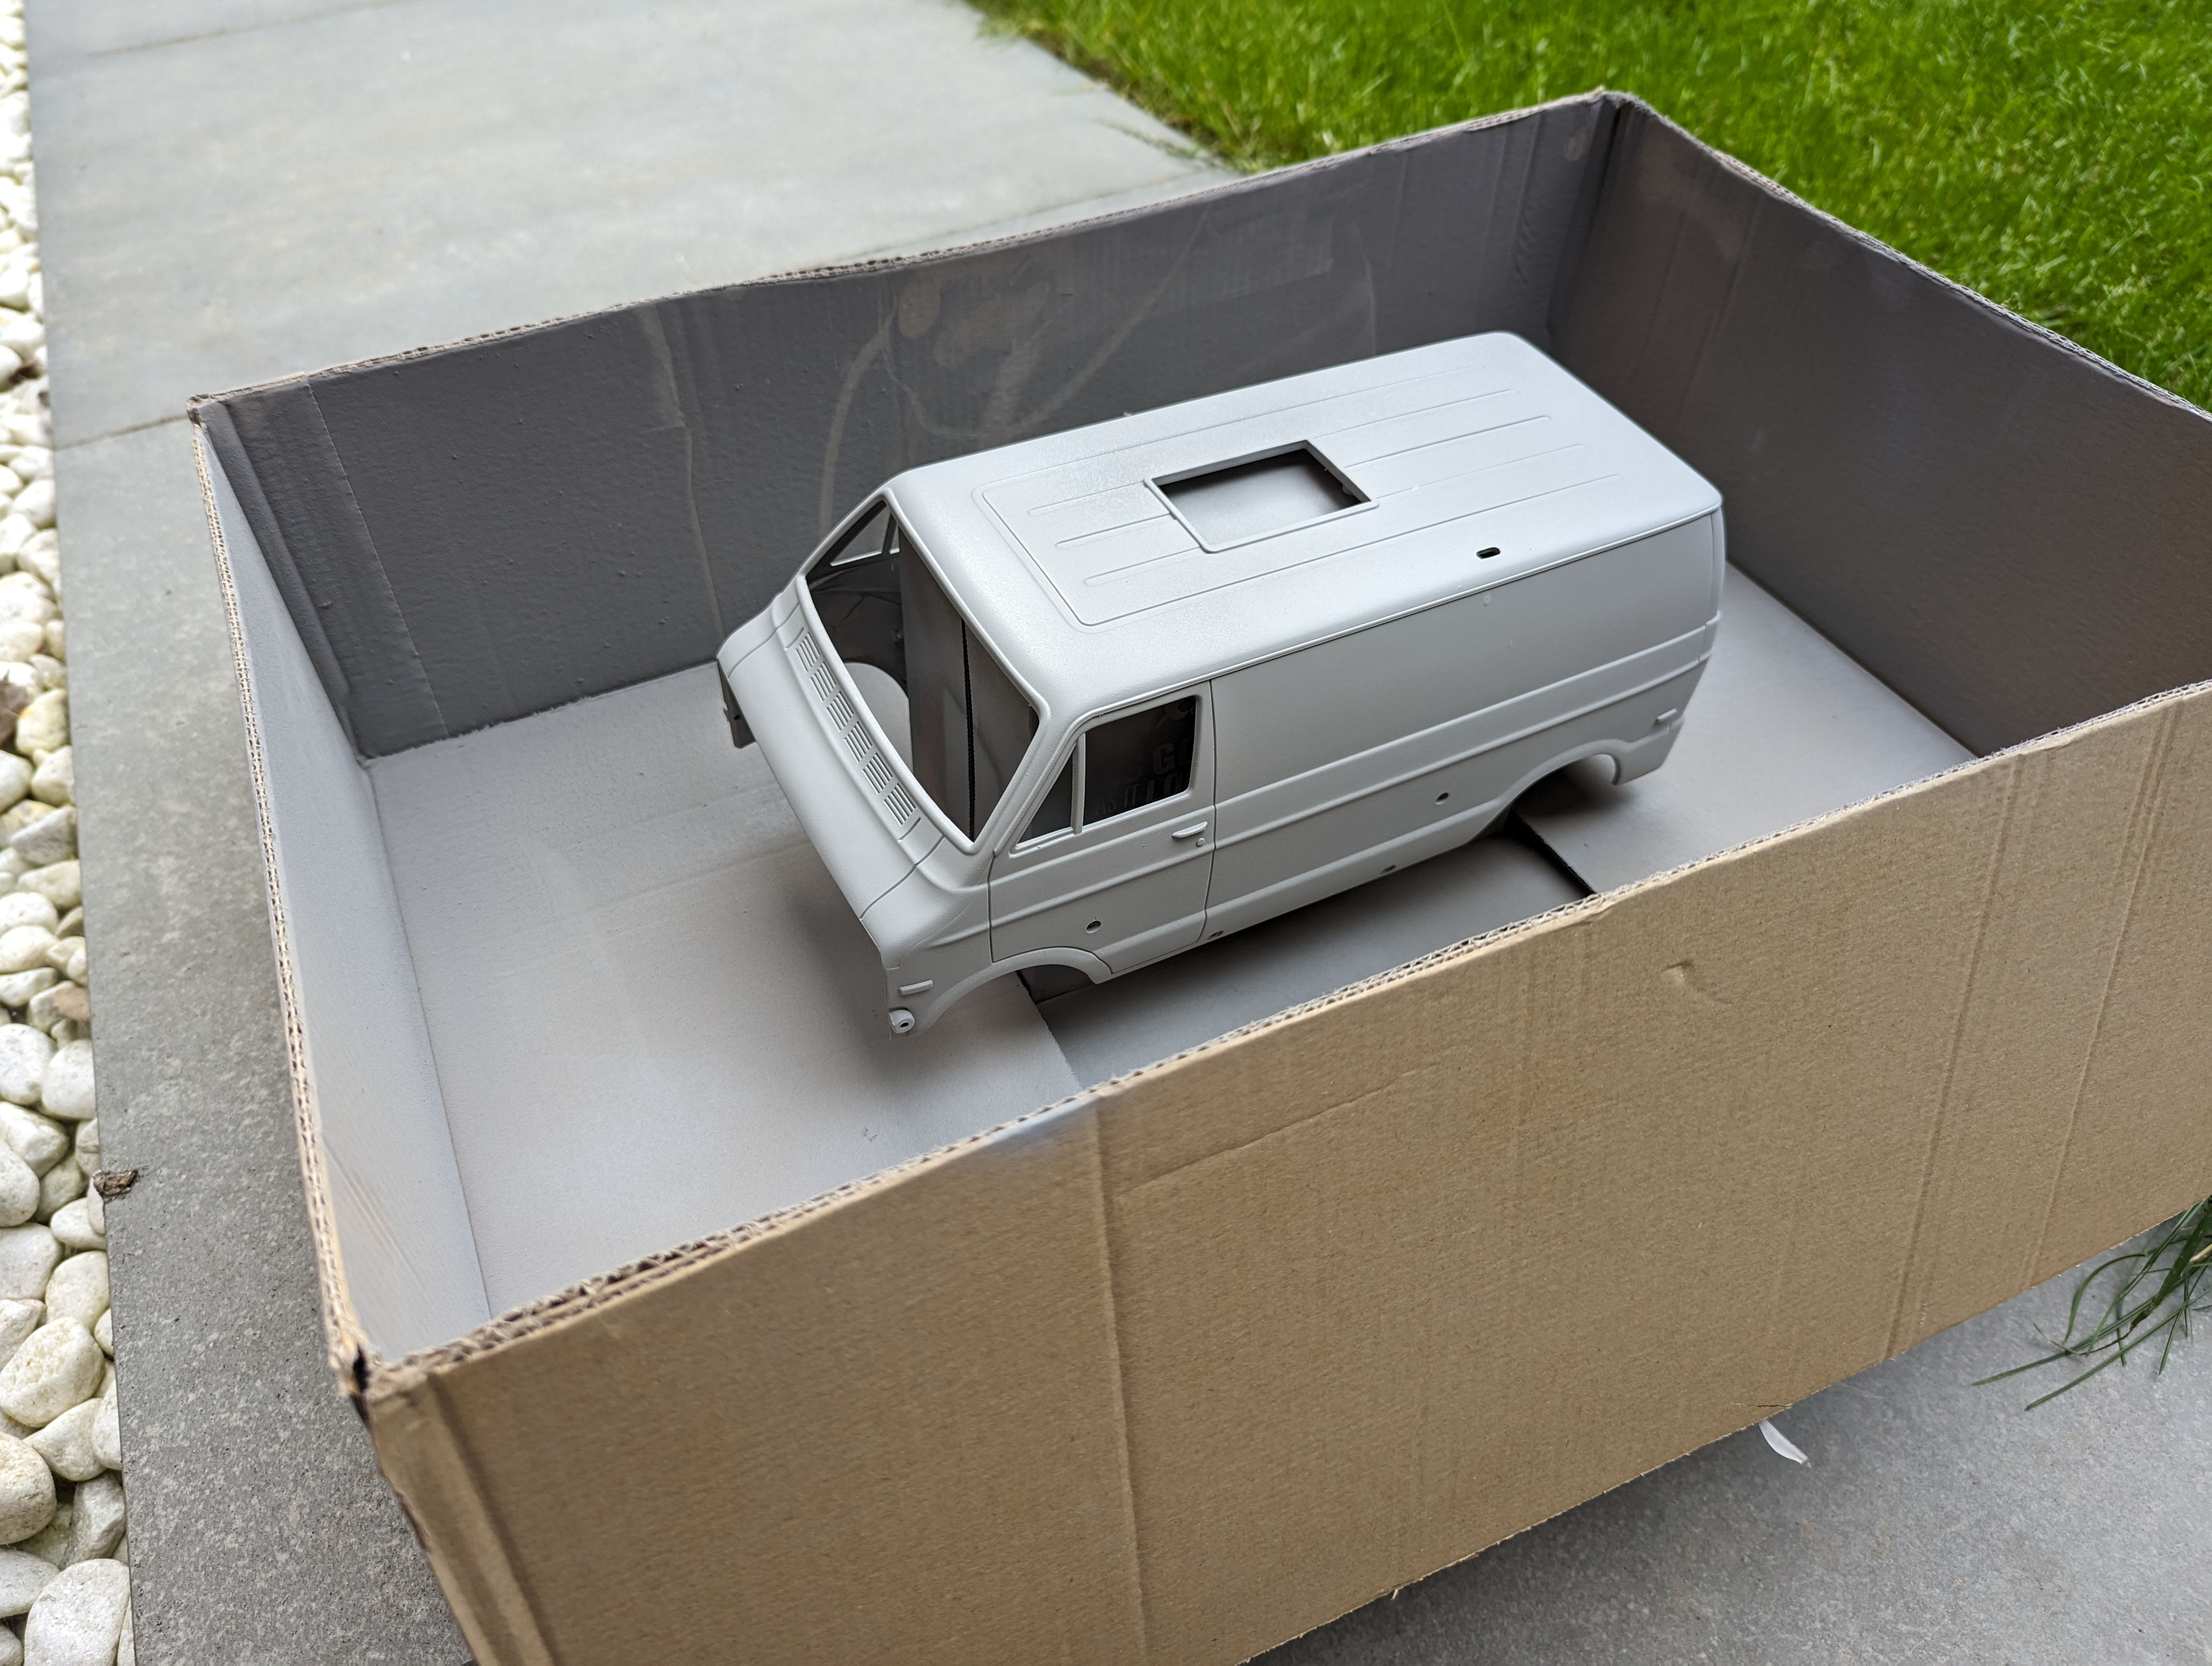
- Apply primer. Use Tamiya fine or medium primer. These cans are larger than the colour cans so 1 might cover the Lunchbox effectively, but I used 2. Warm the can up by placing it in an oversized mug full of warm water for a few minutes before starting painting. TO mix the paint shake the can in a circular motion as if you are stirring a coffee, this will enable the ball bearings to bring up the sediment from the bottom of the can. Don’t shake it up and down. If you are painting outside ensure the weather is warm and dry, and maybe spray inside a cardboard box to prevent the overspray going too far.
- Allow to dry for at least a few hours, maybe overnight.
- Flat down the primer to remove any nibs.
- First apply a light colour coat all over the body. Ensure you spray from multiple angles to get into nooks such as shut lines and along the bottom. Give this ~20mins to dry before returning for a second coat
- Apply a second coat. To achieve a shiny finish, you need to apply a reasonable amount of paint - not so much that it starts to run, but getting close to that. Ignore the instructions on the tin for how far away to spray from - spraying from this distance it will not be possible to achieve a gloss coat. Covering the body for me took a full 2 tins of TS-64 Dark mica blue. I have subsequently heard that this is quite a thin colour, so takes quite a lot to cover the primer. I think in retrospect, my painting technique was probably not the most efficient, and I also lost a bit to the wind! If I was doing it again with the same colour, I’d possibly use the Tamiya white fine primer instead of the grey medium primer, and also buy a 3rd can of colour just to be sure. It can always sit on the shelf for touch ups!
- Allow the colour coats to dry. I moved the body into the garage to let it harden and hopefully not attract too much additional debris. I left it for ~ 3 hours
- Ensure the body is free of debris - wipe with a lint free cloth. At this point you could flat the paint with wet and dry if there are paint defects but I did not.
- Apply the clear lacquer coat. Once again apply this in multiple coats, building it up quickly with maybe 20 minutes between coat. If you are trying to achieve a gloss finish, apply the paint heavier in later coats however not so much that it runs. All the lacquer should be applied within a few hours.
- Leave to harden for some days. 3-4 at least? Inspect the paintwork for defects, e.g. debris overspray etc. At this point if necessary, use polish to improve the shine of the body. I had some more severe egg shelling, which I removed using Autoglym paint renovator, which is a bit more abrasive than polish, but not as much as cutting compound. Don’t overdo it and burn through your colour coat like I did! It’s very easy to do on sharp edges and features such as the door handles.
- Paint the features such as door handles and indicators. Use masking tape where necessary to get clean lines. Note this paint can be wiped off to correct mistakes, but will eat into the lacquer if left for too long. It may be easier to paint some of these features with a paint pen rather than a paint brush.
- Apply decals.
This is a list of the parts I’ve purchased so far and how much I paid.
| Part No. | Name | Price |
|---|---|---|
| X6/X6DCG | DumboRC X6 Transmitter and X6DCG receiver | £35.72 |
| N/A | DumboRC Transmitter sponge cover | £2.11 |
| N/A | DumboRC LED light set | £4.75 |
| 58546 | BLACK Lunch Box RC Car Model Kit with bearings | £112.00 |
| 85064 | Tamiya TS-64 Dark Mica Blue Acrylic Spray Paint | £6.18 |
| 85064 | Tamiya TS-64 Dark Mica Blue Acrylic Spray Paint | £6.18 |
| 87042 | Tamiya Surface Primer - Grey | £8.08 |
| 87042 | Tamiya Surface Primer - Grey | £8.08 |
| 85013 | Tamiya TS-13 Clear Acrylic Spray Paint | £6.18 |
| 85013 | Tamiya TS-13 Clear Acrylic Spray Paint | £6.18 |
| ET0268 | Etronix Charge Lead 4mm To Deans Male | £2.29 |
| CR293 | Core RC 4000mAHr 7.4v 30/60C 2s LiPo | £26.99 |
| HW30120060028 | Hobbywing QUICRUN 1060 Brushed Waterproof ESC - Sbec - T Plug | £22.49 |
| SAV-SC0254MG | Savox SC-0254 Standard Size Digital Servo (Speed) | £22.49 |
| 87066 | Tamiya Modelling Brush Basic Set | £3.79 |
| KP201 | Kimbrough Mid Size Servo Saver Holes | £6.79 |
| 0115065 | Tamiya P Parts - Servo Horn | £2.84 |
| 0115065 | Tamiya P Parts - Servo Horn | £2.84 |
| 81511 | Tamiya X-11 Chrome Silver Mini Acrylic Paint - 10ml | £2.14 |
| 81506 | Tamiya X-6 Orange Mini Acrylic Paint - 10ml | £2.14 |